
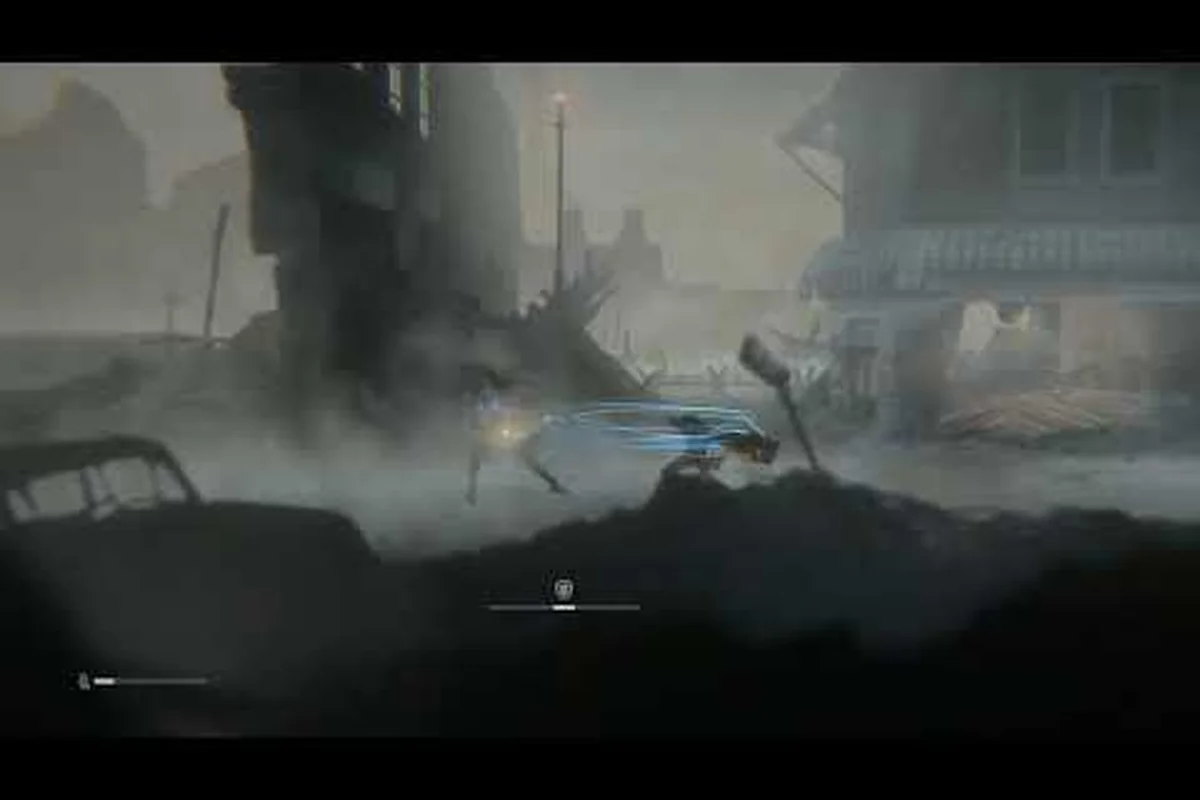
The vapor world over the mind consequence of the choice is the pivotal decision point that splits Episode 2 into multiple narrative branches, and understanding how it works determines whether you reach the true ending or a premature conclusion. This walkthrough breaks down every choice trigger, the reproachful office sequence, and the exact conditions for each outcome so you can plan your playthrough without wasting hours on dead-end paths.
Because the game saves automatically at each major decision node, you can reload to explore alternate branches, but the Memory Fragments you collect persist across reloads, which means your ending eligibility carries over even when you rewind the story. That subtle mechanic makes the vapor world over the mind consequence of the choice system more forgiving than it first appears, and it rewards players who experiment with different dialogue options before committing to a final path.
According to the Vapor World Over The Mind Steam store page, the game's core loop directly ties the player's vapor-world exploration to the narrative consequence of their in-game choices, with each decision permanently altering the mind's internal landscape.
Episode 2 Walkthrough: The Reproachful Office
Crack Break Timing Windows: Parry Frames vs. Projectile Deflection
The deflection system in Episode 2's Reproachful Office operates on two distinct timing windows. Melee Projection strikes require a parry input within 8 frames of contact, while ranged Ember bolts demand deflection within 12 frames—the projectile's slower travel speed creates a more forgiving window. Beta 4.3 specifically reworked boss attacks that were previously unblockable or undodgeable into proper parryable patterns, meaning the Office Supervisor's sweeping lunge is now telegraphed with a 0.5-second wind-up. Successful deflections trigger Crack Break, leaving foes defenseless for roughly 3 seconds—enough time to extract two Embers before they recover.
Decision Node Divergence: The Two-Node Consequence Chain
Episode 2's decision nodes operate as a linked chain rather than isolated choices. The first node—whether to confront the Office Supervisor or slip past via the ventilation shaft—determines which of two second-node options appear. Confrontation unlocks the "Extract the Supervisor's Core" choice, while stealth routes to "Sabotage the Filing System." Each path yields different Ember totals: confrontation grants 8 Embers from the boss fight, but stealth grants 12 via three hidden cache locations. However, the confrontation path unlocks the Reproachful Office's shortcut elevator, permanently connecting the starting checkpoint to the boss arena—a quality-of-life gain that persists through Episode 3.
The reproachful office serves as the central hub for Episode 2, and it is where the vapor world over the mind consequence of the choice system first becomes fully interactive. After Paslow escapes the dream corridor in Episode 1, he wakes inside a decaying corporate workspace where every desk, filing cabinet, and broken monitor represents a suppressed memory from his waking life. The office layout is deceptively simple, but the Projection density here is the highest in the game so far, with ambushes triggered by opening specific drawers and interacting with glowing keyboards.
Your primary objective in this section is to locate three Id Shards hidden across the office floor, each guarded by a distinct enemy type. The first shard sits in the manager's office behind a Crack Break puzzle, the second requires you to navigate the ventilation shafts while avoiding a patrolling Victim Projection, and the third is locked behind a stealth section in the break room where detection resets your progress to the room entrance. According to the official Steam page, this episode introduces the Avengers enemy type, which cannot be staggered by normal deflection and forces you to use the environment to create openings.
| Office Section | Enemy Type | Key Mechanic | Reward |
|---|---|---|---|
| Manager's Office | Brute Projection | Crack Break required | Id Shard #1 |
| Ventilation Shafts | Victim Projection | Stealth + timing | Id Shard #2 |
| Break Room | Avengers | Environmental stuns | Id Shard #3 |
| Server Room | Elite Warden | Multi-phase boss | Office Keycard |
The office layout loops back on itself, so you can clear sections in any order, but the Server Room remains locked until you collect all three Id Shards. Community reports suggest that the optimal route starts with the ventilation shafts because the stealth section becomes significantly harder once you trigger the manager's office alarm, which spawns additional patrols in the corridors. If you are struggling with the stealth mechanics, the demo guide covers the basic detection mechanics that carry over into this section.
Once you have all three shards, the elevator to the Server Room activates, and you face the Elite Warden, a boss that combines the deflection patterns of the Brute with the unblockable attacks of the Avengers. The fight has three phases, and each phase introduces a new attack pattern that you must learn through observation rather than trial-and-error, because the Warden's health bar does not regenerate between attempts.
The Consequence of the Choice: Decision Nodes Explained
The vapor world over the mind consequence of the choice system operates through three distinct decision nodes scattered across Episode 2, and each node presents you with dialogue options that carry different narrative weight. Unlike traditional dialogue trees where every choice leads to the same outcome, these nodes genuinely branch the story, and the game tracks your decisions through a hidden Empathy Meter that determines which ending you unlock.
The first decision node appears immediately after the Elite Warden fight, when Paslow discovers a recording of his own voice confessing to something he cannot remember. The game presents you with three responses: Confront the Recording, Destroy the Recording, or Listen Silently. Each option shifts your Empathy Meter in a different direction, and the game does not tell you which direction until you reach the next checkpoint, which creates genuine uncertainty about the consequences of your actions.
| Decision Node | Location | Options | Empathy Shift |
|---|---|---|---|
| Node 1 | Post-Warden Chamber | Confront / Destroy / Listen | +2 / -1 / +1 |
| Node 2 | The Reproachful Office Basement | Forgive / Blame / Ignore | +3 / -2 / 0 |
| Node 3 | The Memory Vault | Accept / Reject / Bargain | +2 / -3 / +1 |
The second node occurs in the office basement, where you find a Projection of Paslow's Mother trapped in a loop of reliving a painful argument. Your response here carries the heaviest weight, because the game uses this moment to test whether you have been paying attention to the Memory Fragments scattered throughout the level. If you collected at least five fragments, an additional dialogue option appears that references a specific detail from those memories, and choosing it grants a bonus to your Empathy Meter that can offset earlier negative choices.
The third and final node takes place in the Memory Vault, which you can only access if you have maintained a certain Empathy threshold. This node forces you to choose between accepting the truth about Paslow's past, rejecting it and remaining in the dream, or bargaining for a third option that the game only reveals if you have completed specific side objectives. The full walkthrough covers the side objectives in detail, but the short version is that you need to find three hidden Dream Anchors to unlock the bargaining option.
Episode 3 Walkthrough: Beyond the Office
The Id Extraction Priority: Maximizing Ember Yield Per Crack Break
Each Crack Break window allows exactly one Id-powered extraction, but the Ember yield varies by Projection type. Standard Office Drone Projections drop 1 Ember, while the armored Filing Cabinet Guardian yields 3 Embers but requires a charged extraction lasting 2.5 seconds—leaving you vulnerable to ambient dream hazards. Prioritize the Cabinet Guardian during stealth sections where you can initiate from behind cover, as Beta 4.3 fixed enemy detection through cover, allowing you to position safely. This extraction economy matters: accumulating 15 Embers by the section's end unlocks the hidden Id upgrade node, versus the 10 needed for the main path.
Episode 3 Boss Parry Patterns: The Auditor's Three-Phase Deflection Cycle
The Auditor boss in Episode 3's Beyond the Office section presents three distinct parry rhythms across its phases. Phase 1 uses a steady 1-2-3 beat with 10-frame gaps between strikes. Phase 2 shifts to a syncopated pattern—two quick strikes (6-frame gap) followed by a delayed overhead smash (18-frame gap)—designed to punish players who button-mash parries. Phase 3 introduces a projectile volley of five Ember bolts fired at 15-frame intervals, requiring you to alternate between deflection and Id extraction to maintain Crack Break uptime. Beta 4.3's parry-pattern rework ensures all three phases are deflectable, eliminating the previous reliance on dodge-rolling through Phase 2's unblockable attacks.
If you survive the vapor world over the mind consequence of the choice with an Empathy Meter above the required threshold, Episode 3 opens with Paslow emerging into the Ashen Cityscape, a sprawling outdoor area that contrasts sharply with the claustrophobic office. This episode expands the combat system with new Ember Abilities that you unlock by defeating optional Warden Projections scattered across the map, and each ability changes how you approach the deflection-based combat.
The first major area in Episode 3 is the Coursing Boulevard, where you must navigate a series of rooftops while avoiding Sniper Projections that can down you in two hits. The stealth mechanics from the office return here, but the open verticality means you have more route options, and the game rewards players who scout ahead with a Binoculars Item that marks enemy positions on your map. According to player reports on the Steam community discussions, the boulevard section takes most players between 45 minutes and an hour on a first playthrough, depending on how thoroughly you explore the optional alcoves.
| Episode 3 Area | Enemy Composition | Recommended Level | Key Collectible |
|---|---|---|---|
| Coursing Boulevard | Snipers + Victims | 3+ Ember Abilities | Dream Anchor #4 |
| The Glass Atrium | Avengers + Brutes | 4+ Ember Abilities | Memory Fragment #12 |
| The Reflection Pool | Elite Warden Duo | 5+ Ember Abilities | Id Shard #4 |
The Glass Atrium serves as the midpoint boss arena, where you face two Elite Wardens simultaneously, a fight that requires you to use the environment's reflective surfaces to deflect attacks from one Warden onto the other. This mechanic is unique to Episode 3, and it teaches you a combat principle that becomes essential for the final boss encounter. The Reflection Pool area, which you can access after defeating the Atrium Wardens, contains the final Id Shard and unlocks the path to the game's ending sequence.
If your Empathy Meter falls below the threshold during Episode 2, you instead enter a truncated version of Episode 3 that skips the Reflection Pool entirely and routes you directly to the False Ending. This version of the episode is significantly shorter, but it contains unique dialogue and a different final boss that you cannot encounter on the high-Empathy path, which means completionists need to play through both branches to see everything the game offers.
Ending Guide: Every Outcome and How to Unlock It
The vapor world over the mind ending guide covers four distinct endings, each tied to specific Empathy Meter thresholds and decision outcomes from Episode 2. The game does not explicitly show your Empathy Meter, so you need to track your choices manually or use the game's Memory Log feature, which records every significant decision you make throughout the playthrough.
The True Ending requires an Empathy Meter of 8 or higher, which means you need to make mostly positive choices across all three decision nodes and collect the bonus Empathy from Memory Fragments. This ending reveals the full truth about Paslow's past, including the events that led to his entrapment in the dream world, and it sets up the narrative for the game's planned future episodes. The Forgiveness Ending triggers with an Empathy Meter between 4 and 7, and it shows Paslow accepting his past without fully understanding it, which leaves several story threads unresolved.
| Ending | Empathy Requirement | Key Condition | Length |
|---|---|---|---|
| True Ending | 8+ | All positive choices + fragments | 15 minutes |
| Forgiveness Ending | 4-7 | Mixed choices | 10 minutes |
| Despair Ending | 0-3 | Mostly negative choices | 8 minutes |
| False Ending | Any | Fail Episode 3 access | 5 minutes |
The Despair Ending requires an Empathy Meter of 3 or lower, which means you need to consistently choose the aggressive or dismissive dialogue options at every decision node. This ending shows Paslow succumbing to the dream's influence, and it contains some of the game's most unsettling imagery, which makes it worth seeing despite the grim tone. The False Ending occurs when you fail to meet the Episode 3 access threshold, and it presents a truncated conclusion that many players initially mistake for a game over screen.
Because the game saves at each decision node, you can unlock multiple endings in a single playthrough by reloading and making different choices. However, the Memory Fragments you collect persist across reloads, so you only need to collect them once to maintain your bonus Empathy on subsequent branches. For a complete breakdown of all collectible locations and their effects, the secrets walkthrough provides a comprehensive map-by-map guide.
Combat Strategies for the Reproachful Office
Mastering the reproachful office combat encounters requires a different approach than the deflection-heavy combat of Episode 1, because the office environment introduces Environmental Hazards that can turn the tide of battle. The Exploding Monitors scattered throughout the office deal significant damage to both Paslow and enemies, which means you can use them strategically to clear groups of weaker Projections without expending Ember energy.
The Crack Break mechanic becomes more important in Episode 2, because several enemies in the office cannot be damaged normally until you trigger a successful deflection. According to the official gameplay trailer, the timing window for a successful deflection is roughly 0.5 seconds, which is tighter than the 0.8-second window in Episode 1, so you need to practice your timing against the slower Brute Projections before attempting the faster Avengers.
| Enemy Type | Deflection Window | Weakness | Recommended Tactic |
|---|---|---|---|
| Brute Projection | 0.5 seconds | Crack Break stagger | Parry then heavy attack |
| Victim Projection | 0.4 seconds | Stealth attacks | Backstab from cover |
| Avengers | 0.3 seconds | Environmental stuns | Lure to exploding monitors |
| Elite Warden | 0.5 seconds | Post-Crack Break | Full combo + Ember ability |
The Ember Abilities you unlock in Episode 2 provide additional combat options, but they consume Ember Energy that regenerates slowly over time. You should reserve your Ember abilities for the Elite Warden fight and the Avengers encounters, because these enemies have too much health to take down with basic attacks alone. The Id Extraction mechanic, which triggers after a successful Crack Break, restores a small amount of Ember Energy, which creates a sustainable loop if you can consistently land deflections.
For the Elite Warden boss fight, the key is to learn the three-phase attack patterns and identify which attacks can be deflected versus which require dodging. Phase one features slow, telegraphed swings that are perfect for practicing your deflection timing. Phase two introduces a Dash Attack that cannot be deflected, so you need to dodge sideways rather than attempting a parry. Phase three combines both patterns and adds a Summon Mechanic that spawns weaker Projections, which you should eliminate quickly to prevent them from overwhelming you.
Frequently Asked Questions
What is the vapor world over the mind consequence of the choice?
The vapor world over the mind consequence of the choice is the game's branching decision system in Episode 2, where three major dialogue choices determine which ending you unlock. Each choice shifts a hidden Empathy Meter, and your final Empathy score at the end of Episode 2 determines whether you access the full Episode 3 or a truncated version.
How do I unlock the True Ending?
You need an Empathy Meter of 8 or higher, which requires choosing the positive dialogue option at all three decision nodes and collecting at least five Memory Fragments for bonus Empathy. The bonus dialogue option in the basement node, which references specific Memory Fragment details, provides an additional Empathy boost that can offset one negative choice.
Can I see all endings in one playthrough?
Yes, because the game saves automatically at each decision node. You can reload after finishing the game and make different choices to unlock alternate endings. Memory Fragments persist across reloads, so you only need to collect them once to maintain your bonus Empathy on every branch.
What is the reproachful office?
The reproachful office is the main hub area of Episode 2, a decaying corporate workspace filled with Projection enemies and Memory Fragments. You need to collect three Id Shards from different office sections to unlock the Server Room, where you face the Elite Warden boss fight.
Is Episode 3 longer than Episode 2?
Episode 3 is comparable in length to Episode 2, but it features a larger open area with more optional content. The full version of Episode 3, which you access with high Empathy, takes roughly two hours to complete, while the truncated version takes about one hour.