
Combat
Vapor World: Over The Mind combat guide — deflection windows, Crack Break, Ember extraction, Vapor Energy management, stealth takedowns and advanced Sekiro-inspired tactics.
Introduction
The Combat hub is the heart of Vapor World: Over The Mind, dedicated entirely to the deflection combat that defines the game. Inspired by Sekiro's parry mechanics and layered with Bloodborne's weighty, deliberate fights, Vapor World asks you to master one core loop: read an enemy's attack windup, deflect it at the exact right moment, build pressure until the enemy's guard breaks into a Crack Break, and then extract its Ember with the power of the Id while it is defenseless. This hub teaches that loop from the ground up — the precise deflection window and how to time it, how to force a Crack Break reliably, and how to make the most of the Ember extraction window. We also cover the supporting systems that make combat deep: Vapor Energy, the resource that powers your projection skills and must be managed alongside stamina in longer fights; stealth, which lets you bypass or ambush enemies and was overhauled in Beta 4.3 with fixed detection through cover; and the platforming that lets you control encounters by positioning. Because the game reworked previously unblockable boss attacks into proper parryable patterns in Beta 4.3, every fight in the dream is now approachable through deflection, and this hub explains how to recognize attack types, when to dodge instead of deflect, and how to chain combos for maximum damage.
Combat Mechanics Quick Reference
| Mechanic | How It Works | Pro Tip |
|---|---|---|
| Deflection | Parry an attack as it lands to negate damage and build pressure | Read the windup, not the hit |
| Crack Break | Full pressure gauge staggers the enemy into a defenseless state | Fights end fastest here |
| Ember Extraction | Take the Ember from a cracked enemy with the power of the Id | Restores you and deals damage |
| Vapor Energy | Resource that powers projection skills and special moves | Manage it like stamina |
| Stealth | Sneak past or ambush enemies to control encounters | Beta 4.3 fixed cover detection |
Combat Core Loop
Deflection & Timing
The exact deflect window, how to read attack windups, and why perfect parries are the key to every fight.
Crack Break & Ember Extraction
How to force the defenseless state and make the most of the extraction window with the power of the Id.
Vapor Energy Management
The resource powering projection skills — how to generate, conserve and spend it in longer fights.
Stealth & Positioning
Sneak past or ambush the dream's enemies, and use platforming to control encounters before they begin.
Combos & Counters
Chaining projection skills off a successful deflect and punishing counter windows to maximize your damage output in every encounter.
Core Mechanics
Vapor World's combat is built around a small set of interlocking systems that compound into deep, expressive fights. The deflection window opens as an enemy's attack is about to land; pressing deflect in that window parries the strike completely, negating damage and building pressure on the enemy. Each enemy has a pressure gauge that fills with every successful deflect, and once it is full the enemy breaks — a Crack Break — and is completely defenseless for a few seconds. That is the moment to extract its Ember with the power of the Id, which restores your health and energy while dealing heavy damage. Vapor Energy is the resource that fuels your projection skills, the special abilities you reclaim through Embers and Symbols, and it must be managed carefully because running dry leaves you deflecting and dodging with no offensive options. Stamina governs dodge, dash and sprint, forcing you to choose between aggression and safety. Stealth is a fully supported approach: you can sneak behind enemies for takedowns, and Beta 4.3 fixed a bug where enemies could detect you through cover, making sneaking genuinely viable. Boss fights layer these systems — the Beta 4.3 patch reworked unblockable boss attacks into proper parryable patterns, so even the hardest encounters can be solved with disciplined deflection rather than raw damage.
Advantages
Mastering the combat hub makes every other part of Vapor World easier and more rewarding. Deflection is not just a defensive tool — it is the primary engine of character progression, because Embers extracted from cracked enemies are the currency for reclaiming your lost powers. A player who can consistently force Crack Breaks farms Embers efficiently, heals through extraction, and ends fights far faster than someone who only dodges and trades blows. The combat guides here compress hours of trial-and-error into clear explanations: exactly where the deflection window is, how to recognize the attack types that must be dodged rather than deflected, and how to chain projection skills off a successful Crack Break for maximum burst. The stealth coverage is equally valuable, since bypassing a difficult encounter with a well-timed sneak can save your Vapor Energy and health for a boss. Because Beta 4.3 made all boss attacks parryable, the skills taught in this hub are applicable to every fight in the game, from the first Projection to the episode finale. For a game whose entire identity rests on deflection combat, a dedicated, well-structured combat guide is the single highest-leverage resource on the wiki.
Challenges
Combat guides for Vapor World face the problem that the game is unfinished and its combat has changed substantially between demo versions. The Beta 4.3 patch in February 2026 was a major overhaul — it reworked the protagonist's controls and movement, converted unblockable boss attacks into parryable patterns, and fixed stealth detection through cover — so any guide written before that patch is now actively misleading about controls, boss strategy and stealth. The deflection window itself is a feeling-based timing that is difficult to convey in text; no description fully replaces hands-on practice against a live enemy. Specific attack-pattern catalogs are incomplete because the full roster of bosses and enemies is not yet known, and the Early Access build may rebalance combat again at launch. Finally, some terminology — like the exact names of projection skills and Symbols — is not officially confirmed, so guides use the community terms that may change. We mark version-specific advice with the patch it applies to and update the hub after every significant patch, but readers should treat precise numbers and timings as current for the latest demo build.
Frequently Asked Questions
What is the deflection window in Vapor World?+
How do I force a Crack Break reliably?+
Should I always deflect, or are some attacks better dodged?+
Quick Tips
Practice deflection against the slow Projection attacks in the Prologue before anything else. The window is the same across the game, so building the timing on easy, telegraphed strikes means you will land it on fast enemies and bosses later. A single well-timed deflect against a fast enemy is worth more than several blocked hits, so be patient and wait for the read rather than rushing. A single well-timed deflect against a fast enemy is worth more than several blocked hits, so be patient and wait for the read rather than rushing.
Never dump your Vapor Energy on a mid-combo cast you are not sure will connect. Wait for a confirmed Crack Break, where the enemy is defenseless and your projection skill is guaranteed to land and deal full damage. If your Vapor Energy is low, save the cast entirely and use the window for a free Ember extraction instead of gambling on an empty bar. If your Vapor Energy is low, save the cast entirely and use the window for a free Ember extraction instead of gambling on an empty bar.
Use stealth to thin enemy groups before a fight you know is coming. Ambushing one enemy with a takedown, then deflecting the survivor, turns a dangerous two-on-one into a comfortable duel and saves health for the boss. Thin the group with a stealth takedown first, then deflect the survivor in a fair one-on-one that costs far less health than the mob. Thin the group with a stealth takedown first, then deflect the survivor in a fair one-on-one that costs far less health than the mob.
Featured

Vapor World: Over The Mind Combat Guide: Deflect & Break
Master the vapor world over the mind combat guide with deflect timing and crack break. Learn parry windows and how to shatter enemy guards effectively.

Vapor World: Over The Mind Counter Guide: Stagger & Takedown
Master vapor world over the mind counter guide: deflect to stagger, break enemies, and follow up with stealth takedowns for clean, efficient fights.
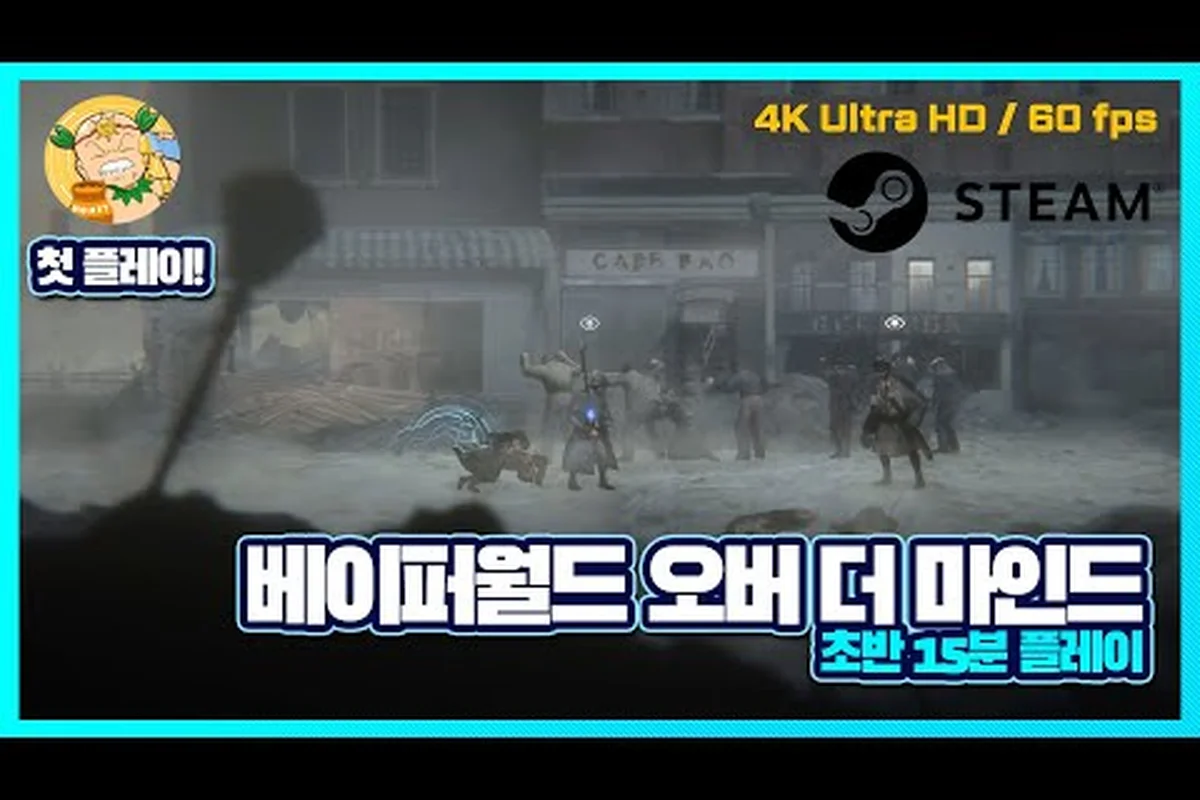
Vapor World: Over The Mind Vapor Energy Explained & Combos
Discover vapor world over the mind vapor energy explained: how to build it, use projection skills with symbols, and chain best combat combos effectively.
All Articles

Vapor World: Over The Mind Backstab Guide: Advanced Tactics
Get vapor world over the mind backstab guide tactics for hard fights: identify parryable attacks, avoid unblockables, and use ranged options wisely.

Vapor World: Over The Mind Combat Mechanics: Dodge & Roll
Understand vapor world over the mind combat mechanics: read enemy attacks, time dodges and rolls, and use sprint to avoid damage in every fight.

Vapor World: Over The Mind How to Time Parries & Windows
Learn vapor world over the mind how to time parries with the deflection window. Nail perfect parries in this Bloodborne-inspired, weighty combat system.
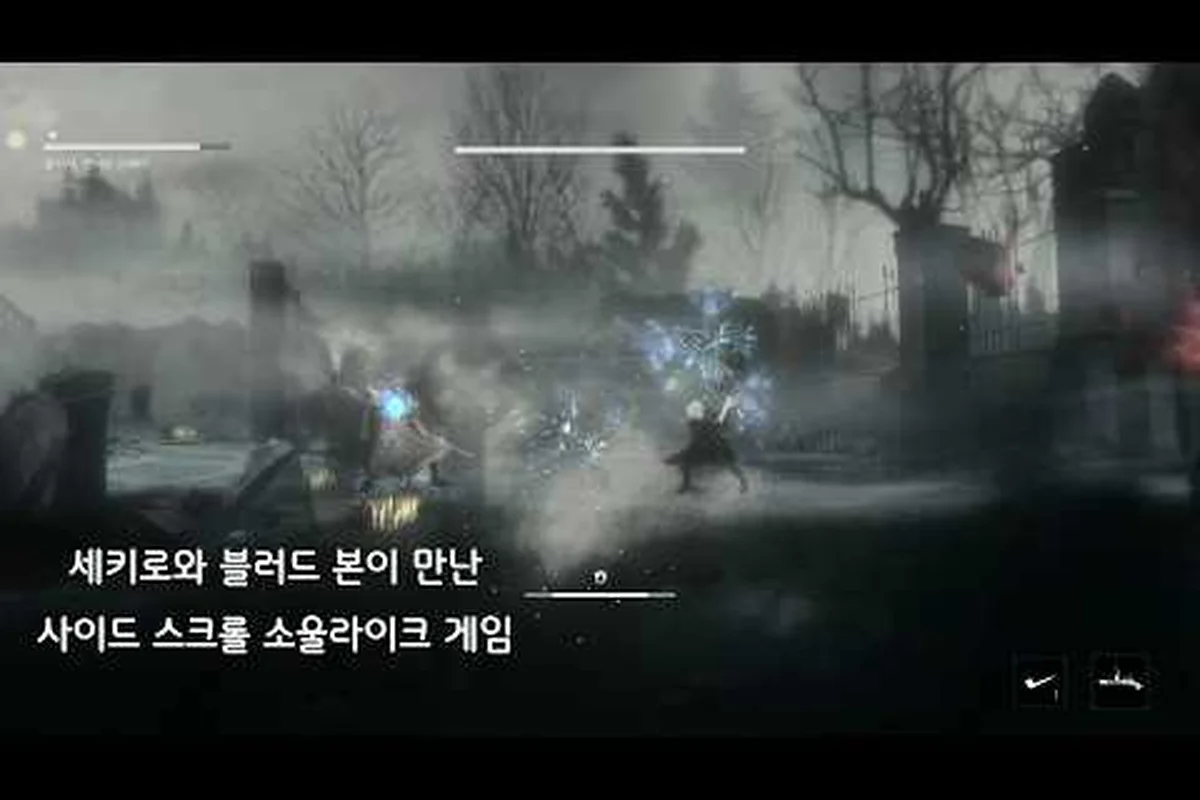
Vapor World: Over The Mind How to Crack Break: Extract
Learn vapor world over the mind how to crack break to expose enemies and extract embers. Master the Sekiro-like combat loop and deflect-first strategy.