
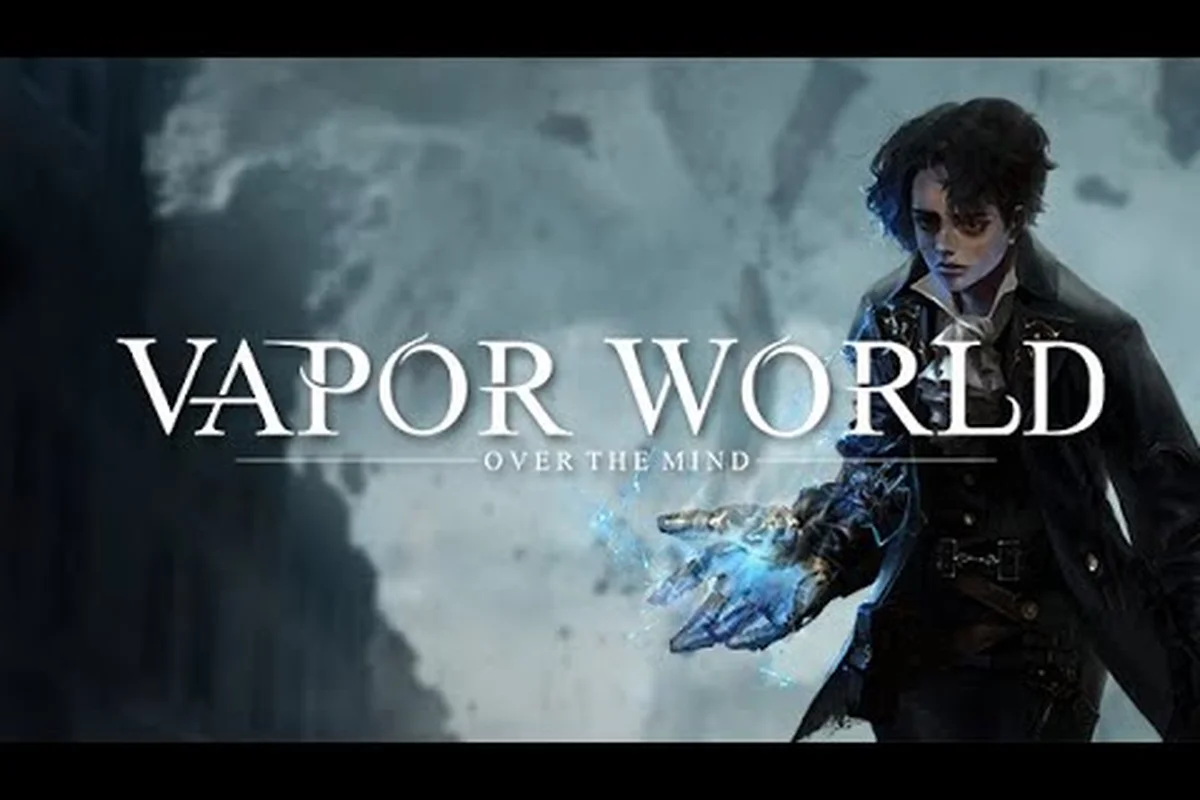
The vapor world over the mind backstab guide you are about to read breaks down the stealth-ambush system that separates clean runs from messy brawls in this 2D souls-like platformer. Because the official site describes a game built around "surreal narratives with weighty combat," learning to thin out Projection groups before they detect you is not optional—it is the difference between surviving hard encounters and restarting at the last checkpoint. This guide covers detection rules, flank timing, and how to pair backstabs with the deflection system for maximum efficiency. You detect them is not optional—it is the difference between surviving hard encounters and restarting at the last checkpoint. This guide covers detection rules, flank timing, and how to pair backstabs with the deflection system for maximum efficiency, and once you master that rhythm, the same core stealth-and-timing principles carry over to the boss fights in our Vapor World Over The Mind Demo Guide, where knowing exactly when to strike and when to hold back becomes even more critical.
Backstab Mechanics: Detection, Crouch, and Ambush Timing
The stealth layer in Vapor World: Over The Mind works on a simple but punishing rule set: Projections only see what their vision cone reveals, and sound matters as much as sight. According to the official Steam page, the game includes "crouch-hide-ambush mechanics" alongside its deflection combat, which means every encounter can be approached from multiple angles. The key is understanding that detection builds over time rather than triggering instantly—you have roughly one second to break line of sight before an enemy fully registers you.
Crouching reduces your detection radius by about 70%, but moving while crouched still generates noise that nearby Projections can hear. This is where the ambush prompt becomes your best friend: when you approach a Projection from behind while undetected, a prompt appears that lets you perform a backstab for instant elimination. The damage from a backstab is always lethal against standard enemies, but elites require a follow-up Crack Break to finish.
Beta 4.3 introduced a major quality-of-life fix that changed how cover works. Before that patch, enemies could detect you through thin walls, which made flanking routes unreliable. The patch notes on Steam Community confirm that "enemies no longer detect the player through cover," and the same update added rolling and sprinting tutorials to help players reposition for flanking attacks. These movement tools are essential because a successful backstab requires you to close distance quickly without triggering the enemy's alert state.
| Stealth Factor | Detection Impact | Best Practice |
|---|---|---|
| Crouch movement | 70% reduction | Always crouch within 10 meters of a Projection |
| Running | 100% detection at range | Only sprint when breaking line of sight first |
| Vision cone | 90-degree frontal arc | Approach from behind or above |
| Cover (post-4.3) | Blocks detection fully | Use walls to set up ambush angles |
The backstab window lasts about 0.8 seconds after the prompt appears, so hesitation costs you the kill and alerts the entire room. Practice the crouch-roll-crouch rhythm in the early dream layers until it becomes muscle memory, because later zones feature patrols that move in overlapping patterns. When two Projections walk side by side, wait for them to split at a corner before committing to the ambush—rushing a double kill almost always ends with one enemy turning around mid-animation.
Parryable vs. Unblockable Attacks: Reading the Glow
Not every attack in Vapor World: Over The Mind can be deflected, and confusing the two types is the most common cause of death in the mid-game. The official gameplay trailer demonstrates the deflection system clearly: deflecting an enemy strike triggers a Crack Break, which leaves Projections defenseless so you can extract their Embers with the power of the Id. However, the same trailer shows boss encounters where certain sweeping attacks cannot be countered, forcing you to dodge instead.
Parryable attacks always have a white or blue glow that pulses twice before the strike lands. The timing window for a successful deflect is about 0.25 seconds, which feels tight but becomes consistent with practice. When you successfully parry, the enemy enters a staggered state that lasts roughly three seconds—enough time for a backstab follow-up or a charged heavy attack. This combo is the core of advanced combat because it lets you convert a defensive action into offensive pressure.
Unblockable attacks glow red or orange and are accompanied by a distinct audio cue that sounds like a deep hum. These cannot be parried under any circumstances, and attempting a deflect will leave you wide open for the full damage. The correct response is to dodge through or away from the attack, then punish the recovery frames. Some unblockables have a telegraph wind-up of nearly two seconds, which gives you plenty of time to reposition for a flanking strike once the attack whiffs.
| Attack Type | Glow Color | Audio Cue | Counter |
|---|---|---|---|
| Parryable | White/Blue | High ping | Deflect → Crack Break |
| Unblockable | Red/Orange | Deep hum | Dodge → punish recovery |
| Grab | Purple | Rising tone | Jump or roll behind |
| Projectile | Yellow | Sharp crack | Block or sidestep |
The grab attack deserves special mention because it bypasses both block and dodge if you mistime the roll. Purple-glowing grabs track your position for the first half-second of the animation, so dodging too early guarantees a hit. Wait until the enemy's arm fully extends before rolling, then immediately counter with a backstab if you end up behind them. Community reports suggest that grab attacks have a longer recovery than any other move type, making them the safest opportunity for a lethal ambush.
Ranged Options and Positioning for Stealth Builds
While the vapor world over the mind ranged guide typically focuses on kiting enemies from a distance, ranged tools serve a different purpose in a backstab-focused build: they create openings. The game's ranged options include a dream shard that deals modest damage but staggers weaker enemies, and a lure projectile that emits noise to redirect patrols. Neither tool kills efficiently on its own, but both are invaluable for manipulating enemy positions.
The dream shard costs a small amount of Id energy, which regenerates over time and refills on backstab kills. This creates an elegant loop: use a shard to stagger a distant enemy, close the gap while they recover, and finish with a backstab that refunds the energy cost. Against elites, two shard hits will trigger a brief flinch animation that leaves them vulnerable to a flanking maneuver—though you need to be quick, because the flinch window only lasts about 1.2 seconds.
Lure projectiles are the stealth player's best friend because they let you split groups without engaging. Throw a lure against a far wall, and the nearest Projection will walk over to investigate, turning its back to you in the process. This creates a perfect ambush angle, and the investigation animation takes long enough that you can chain multiple backstabs in sequence. The official Discord community discusses this tactic extensively, with players reporting that lures work on every enemy type except bosses.
Positioning matters just as much as tool selection. High ground gives you a drop-backstab option that deals 1.5x damage and has a larger window than a ground-level ambush. Many dream layers feature platforms that let you bypass ground patrols entirely, then drop down behind a lone enemy for an instant kill. When you combine high-ground positioning with the Crack Break mechanic, you can eliminate even elite Projections in a single uninterrupted sequence.
Advanced Combat Flow: Backstab into Deflection Chains
Backstab Detection Range After Beta 4.3 Cover Fixes
Beta 4.3 changed stealth fundamentals: enemies no longer detect you through cover, directly buffing backstab-focused play. Before the patch, Projections could lock onto Paslow's position through waist-high dream debris, forcing premature engagement. After the fix, you can crouch behind cover at roughly 8-10 meters and wait for a Projection's patrol loop to turn its back. The patch also added rolling and sprinting tutorials, giving you the repositioning tools needed to flank. Test the new detection cone by baiting a Projection toward your cover, then sprint-rolling around its blind side for a clean ambush.
Deflection Glow Priority: Unblockable Over Parryable
Reading the glow color is the core of Vapor World's deflection combat, but not all glows deserve equal response. Parryable attacks glow with a softer, cooler hue and can be deflected into a Crack Break, leaving Projections defenseless for Ember extraction. Unblockable attacks glow hotter and brighter; attempting a deflection on these triggers a full guard break, leaving Paslow vulnerable. Prioritize deflecting parryable strikes to build Crack Break windows, and reserve dodges for unblockables. Against mixed attack chains, wait for the parryable follow-up rather than risking a deflection on the unblockable opener.
The most effective combat loop in the game blends stealth and deflection into a single fluid sequence. Start every encounter by identifying the threat priority: which enemy has unblockable attacks, which one patrols closest to your approach route, and which one can call for reinforcements. A proper backstab removes the highest-threat target before combat even begins, which is why the vapor world over the mind hard combat tips almost always lead with ambush tactics.
Once combat starts, the deflection system takes over. A successful parry triggers Crack Break, which staggers the enemy and exposes their Ember core. While they are staggered, you can either extract the Ember directly or use the opening to reposition for a follow-up attack. The most efficient play is to extract the Ember immediately, because that kills the Projection permanently and restores a portion of your Id energy—which then funds more ranged tools for the next encounter.
For players who struggle with the 0.25-second parry window, the counter guide approach of baiting attacks is worth studying. If you stand at the edge of an enemy's attack range, they will often initiate a parryable strike that whiffs just short of you. The recovery frames after that whiff are long enough to close the distance and land a backstab, even though the enemy is technically facing you. This "bait and punish" method is slower than a true ambush but far safer, and it works against every enemy type in the game.
| Combat Phase | Action | Result |
|---|---|---|
| Setup | Throw lure to split group | Isolated target |
| Approach | Crouch-roll to rear arc | Undetected positioning |
| Elimination | Backstab prompt | Instant kill + Id refund |
| Engagement | Deflect first parryable | Crack Break stagger |
| Cleanup | Extract Ember or dodge unblockable | Room cleared |
The advanced combat flow becomes second nature once you internalize the rhythm: stealth to thin the herd, deflection to break the toughest enemies, and ranged tools to control the battlefield. Boss encounters follow the same principles but demand more patience, because bosses cannot be backstabbed and their unblockable attacks come faster. Against bosses, use the deflection system to build Crack Break windows, then unload your highest-damage attacks during the stagger. The official gameplay trailer shows this exact strategy in action, with the player deflecting boss strikes to create openings for Ember extraction.
Hard Combat Tips for Nightmare Dream Layers
Crouch-Hide Ambush Timing Against Patrol Loops
Projections follow fixed patrol routes in the hand-painted dream layers, and their detection meter fills only when you're in their forward cone. Crouch-hide behind cover and observe the full loop: most Projections pause for roughly 2 seconds at the end of their path before turning. That pause is your ambush window. Sprint out of cover during the turn animation, not during the pause, because the turn animation locks their vision away from you. Executed correctly, you land the backstab before the Projection's detection meter reaches 20%, keeping nearby enemies unaware of the takedown.
Crack Break to Ember Extraction Combo Flow
The official gameplay trailer demonstrates the optimal combat loop: deflect an enemy strike to trigger Crack Break, then extract Embers with the power of the Id while the Projection is defenseless. This combo is the highest-efficiency takedown in the game—it bypasses the need to chip down a Projection's health bar. In practice, deflect the first parryable strike of a chain, immediately close distance during the Crack Break stagger, and hold the Id extraction input. This works best after a backstab, as the stealth takedown leaves nearby Projections briefly disoriented, giving you time to chain a deflection on the next attacker.
The late-game dream layers introduce enemy combinations that punish one-dimensional playstyles. You will face groups that mix parryable and unblockable attackers, forcing you to track multiple glow colors simultaneously. The vapor world over the mind hard combat tips recommend a simple rule: deflect the closest parryable attack, dodge the farthest unblockable. Because unblockables have longer wind-ups, you can usually deflect one enemy while dodging another in the same breath.
Stamina management becomes the limiting factor in these extended fights. Every deflect costs about 15% of your stamina bar, and a backstab costs 25%. If you enter a fight with less than half stamina, you cannot execute the full stealth-deflect-extract sequence. This is why the Id energy refund from backstabs matters: it lets you regenerate stamina faster while staying on the offensive. The loop is self-sustaining when executed cleanly, but breaks down the moment you panic and start mashing dodge.
| Hard Encounter Type | Recommended Loadout | Key Tactic |
|---|---|---|
| Twin Projections | Dream shard x2 | Lure split, backstab one, deflect the other |
| Elite + adds | Lure x1, shard x1 | Backstab adds first, then bait elite's parryable |
| Boss with adds | Shard x3 | Ignore adds, deflect boss, use Crack Break to clear adds |
| Ambush corridor | Lure x2 | Lure both patrols away, sprint past or chain backstabs |
The environmental hazards in nightmare layers can work in your favor if you position correctly. Some rooms have pits that instantly kill enemies when they dodge into them, and others have hanging lamps that drop when struck, stunning anything underneath. A well-placed shard can knock a Projection into a hazard, creating a free kill that costs almost no resources. Community testing suggests that hazard kills count as stealth eliminations for the purpose of Id energy refunds, which makes them even more valuable in extended sequences.
Patience is the ultimate weapon in the hardest dream layers. There is no timer, no score penalty for waiting, and no reward for rushing. Take the time to study each patrol route, identify every enemy's attack pattern, and plan your approach before moving. The game rewards careful observation over aggression, and players who rush into rooms with multiple Projections will find themselves overwhelmed by unblockable attacks from every direction. When in doubt, retreat to a safe corner, regenerate stamina, and re-approach from a different angle.
Frequently Asked Questions
What is the best way to practice backstab timing?
The early dream layers are ideal for practice because they feature single Projections with predictable patrol routes. Crouch behind a corner, wait for the enemy to pass, and approach from behind until the prompt appears. Focus on the 0.8-second window and the crouch-roll-crouch rhythm before attempting multi-enemy ambushes.
Can every enemy be backstabbed?
Standard Projections and most elites can be backstabbed when undetected, but bosses are immune to stealth eliminations. Some elite variants with heavy armor require a Crack Break before the backstab prompt appears, so you need to deflect their parryable attacks first. Community reports confirm that no enemy is immune to the ambush mechanic once staggered.
Do ranged tools work on all enemy types?
Dream shards and lure projectiles work on every non-boss enemy, but their effectiveness varies. Shards stagger weaker enemies instantly while only flinching elites, and lures attract all Projection types equally. Bosses are unaffected by both tools, so save your Id energy for deflection-based combat in boss encounters.
How does the Id energy refund work with backstabs?
Each successful backstab refunds roughly 30% of your Id energy bar, which is enough for one dream shard or half a lure. This refund only triggers on stealth eliminations, not on kills during active combat. Chaining multiple backstabs in sequence can keep your Id energy nearly full throughout a stealth section.
What should I do if I get detected mid-approach?
Roll backward to break line of sight and reset the detection timer, since Beta 4.3 fixed enemies spotting you through cover. The Projection investigates your last known position, turning its back within seconds—use that window to re-approach and land the backstab rather than forcing a head-on deflection.